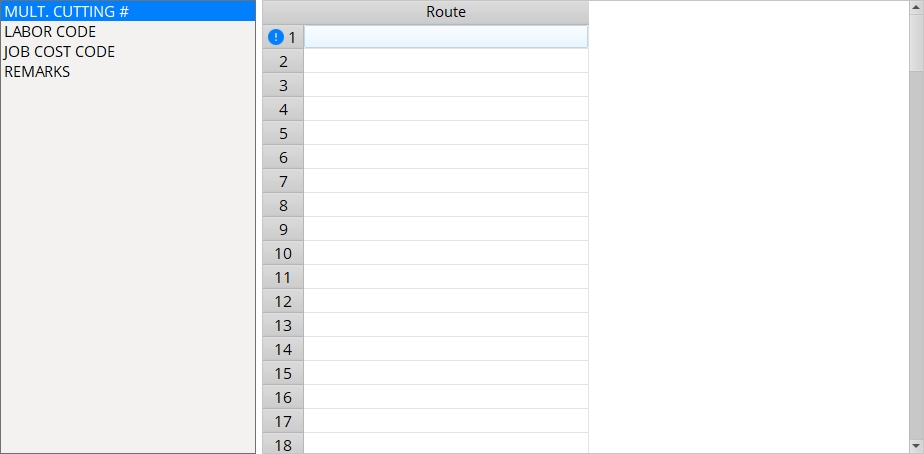
User Routing Settings

Sets the available routing definitions that can be selected in Member Status or Material General Information.

  • The User Routing Settings window can be used to set up any definitions that you might like to apply to members or material.
  • The routing definition entered to line 1 is assigned by default to all members in your current Job. You may want to leave line 1 blank or type something like ' Default ' or ' Not Set ' or ' None '.
  • Routing definitions may be up to 39 characters and may include spaces.
  • To add a definition to the User Routing Settings window, click the first empty line. Type in a definition name, then press Tab to go on to the next cell.
  • To erase a definition from the User Routing Settings window, double click in the cell whose contents you want to erase, the previous entry is highlighted. Press the Backspace key to erase the previous entry.
  • To change the names of configurations on this window, open Home > Project Settings > Fabricator > Sheets and Reports > Bill of Material Layout and change Header Line 1 and Header Line 2 for Mult. Cutting #, Labor Code, Job Cost Code, or Remarks.
  • To set the member's User Routing definition, enter the routing definition to the appropriate " Member route . . . " field on the Member Status Review window.
  • To set the material's User Routing definition, enter the routing definition to the appropriate " Material route . . . " cell on the General Information window.

  • The position of these form buttons on the screen tells you what settings they apply to. Click here for more information.
  • You can Copy ( ) the settings on this screen , then Paste ( ) those settings to a different screen of the same type.
  • Save ( ) saves a file to a global folder ( ) that is used by your current version of SDS2. Give the file a name that will help other users identify its purpose. Load ( ) replaces the settings on this screen with the settings that are stored in the file that you select.
  • When editing multiple screens at the same time, Paste and Load replace mixed entries to a single field with a single entry. Copy and Save ignore fields with mixed entries, treating them as if they have no entry or do not exist.

OK (or the Enter key) closes this screen and applies the settings.

Cancel (or the Esc key) closes this screen without saving any changes.

Reset undoes all changes made to this screen since you first opened it. The screen remains open.

  • The definition entered to line 1 is assigned by default to all members/materials in your Job. You may want to leave line 1 blank or type something like "Default" or "Not Set" or "None".
  • Example : If you have changed configuration 1 ( Mult. Cutting # ) to something like Shop Operation , you might want to enter definitions like ' beam line ' or ' CNC punch ' or ' CNC drill '.
  • Routing definitions can be tracked using Modeling > Status Display > Member status > Member route . . . to set display colors for members that have been assigned particular definitions.
  • Routing definitions can be tracked using Modeling > Status Display > Material status > Material route . . . to set display colors for materials that have been assigned particular definitions.
  • The definitions can appear in a member detail on the bill of material the information is compiled in the columns that are by default named " Mult. Cutting # ," " Labor Code ," " Job Cost Code " and " Remarks ."
  • Settings applied here are for your current Fabricator . Each Fabricator in your current Job is a different collection of settings.